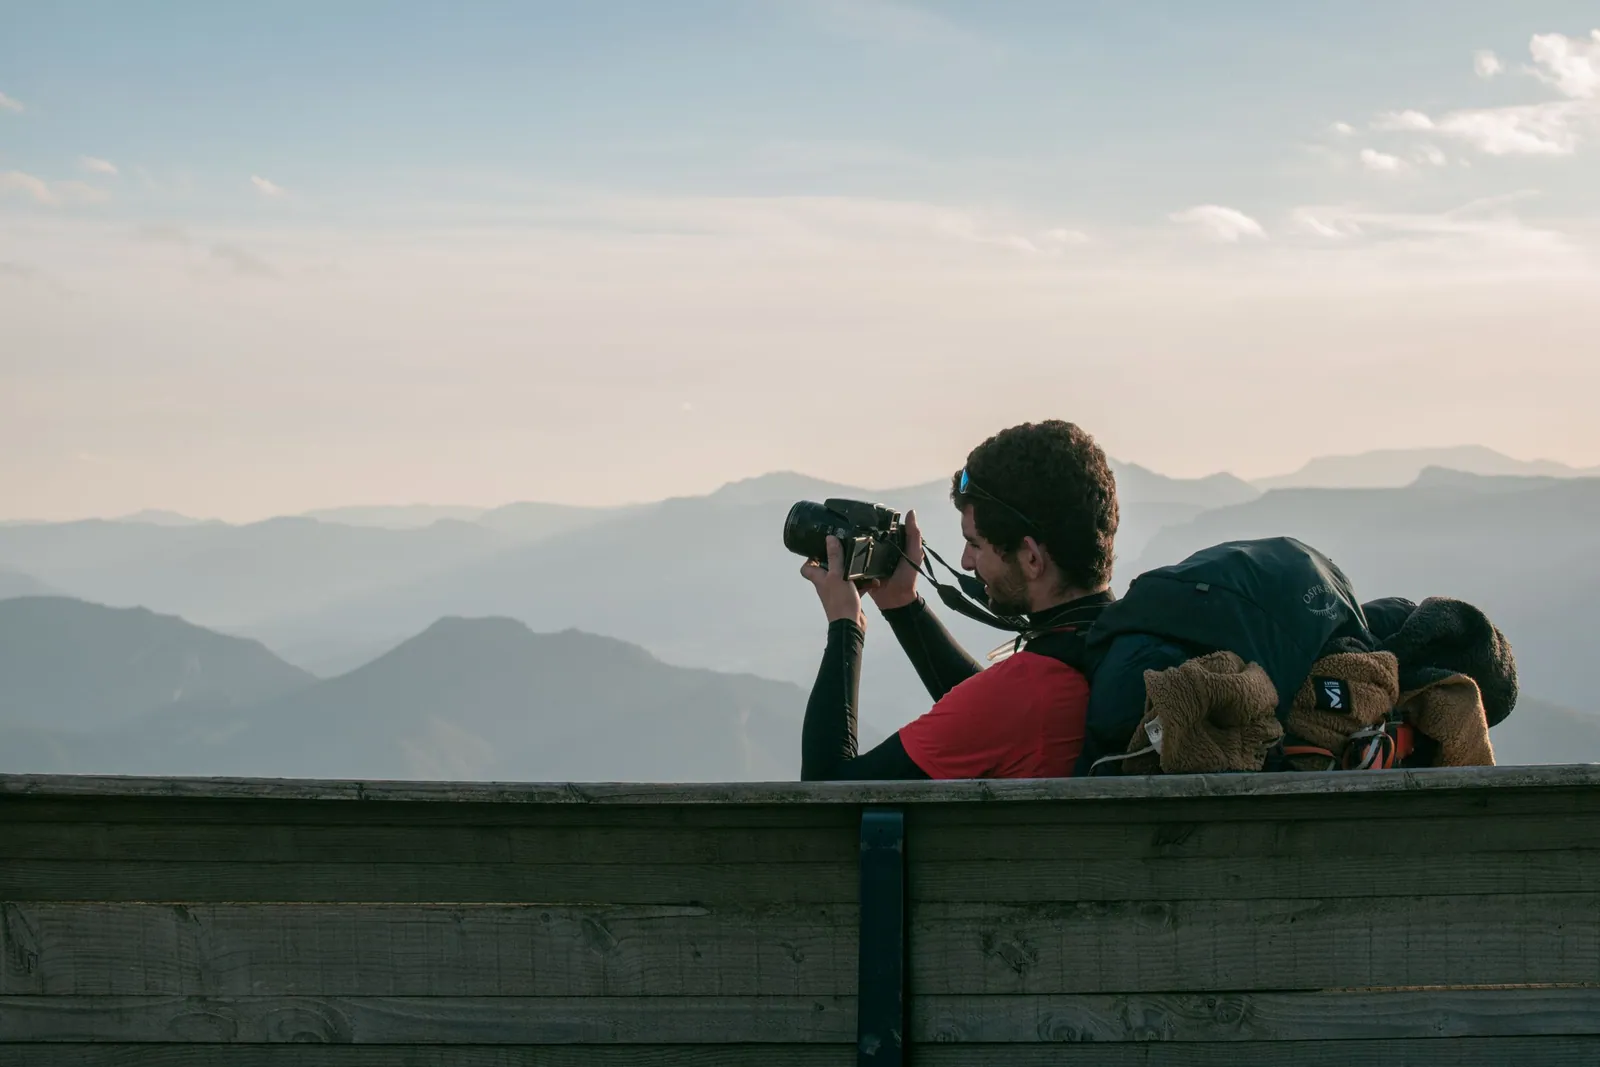
Every trekker brings back photos, but the difference between snapshots and photos worth revisiting usually comes down to a handful of practical habits — not an expensive camera. Whether you're carrying a phone or a mirrorless kit up a Himalayan ridge or a Sahyadri fort trail, the same fundamentals apply: manage weight sensibly, chase the right light, and protect your gear from the conditions Indian trekking actually throws at it.
Phone vs Camera: The Real Trade-Off
The honest answer is that a phone covers most trekking photography needs well. Computational photography on recent phones handles dynamic range in tricky mountain light — bright sky, dark foreground — better than many entry-level cameras, and the weight and convenience of not carrying separate gear matters enormously over multiple trekking days.
A dedicated camera earns its keep in specific situations: real optical zoom for distant peaks or wildlife, better performance in genuinely low light (dawn starts, star photography), manual control over exposure for tricky scenes, and generally more durable, weather-sealed bodies. If you're a casual trekker who wants good memories, a phone is enough. If photography is a serious part of why you trek, the extra weight of a camera is a trade-off worth making consciously, not by default.
Gear Weight Trade-Offs
Every extra lens, battery, or accessory you carry on a multi-day trek is weight you feel on every uphill stretch, so the question for camera gear isn't 'what could be useful' but 'what will I actually use enough to justify carrying it.' A single versatile zoom lens almost always beats carrying two or three specialised primes on a trek, even if the primes are individually sharper.
A good rule of thumb: pack camera gear as if every extra 500 grams costs you noticeably more effort late in a long trekking day — because it does. Prioritise one capable lens, one or two spare batteries, and a compact tripod over a full kit, and you'll actually use everything you carry instead of leaving it zipped away out of fatigue.
- One versatile zoom lens beats two or three specialised primes for trekking
- A lightweight mirrorless body saves significant weight over a DSLR with similar capability
- Compact/mini tripod over a full-size one — you'll actually carry it every day
- 2-3 spare batteries max for a week-long trek; more is rarely worth the weight
- Use your backpack's outer pocket for quick-access shots, not the main compartment
Golden Hour and Timing Your Shots
Golden hour — the window shortly after sunrise and shortly before sunset — is when mountain light is at its best: warm, low-angled, and soft enough to bring out texture in ridgelines and snowfields that flatten into a washed-out glare under midday sun. Most Himalayan treks already have you at camp or a viewpoint during at least one of these windows, so the discipline is less about finding the light and more about being ready when it arrives.
Blue hour — the 15-20 minutes just before sunrise and just after sunset, when the sky holds a deep blue tone before or after golden light — is underused by most trekkers but can produce some of the most striking mountain shots, especially of snow peaks that seem to glow faintly against a darkening sky. It requires being set up a few minutes earlier than you'd think, tripod ready, since the window closes fast.
- Golden hour: ~30-45 min after sunrise, ~30-45 min before sunset
- Blue hour: 15-20 min before sunrise / after sunset — often skipped, very rewarding
- Midday light is harsh for landscapes — better for close-up trail/people shots in shade
- Check sunrise/sunset times for your specific trek location and date in advance
Protecting Your Gear from Monsoon and Cold
India's trekking seasons throw two very different threats at camera gear: monsoon humidity and rain on Sahyadri and Western Ghats trails, and dry cold at Himalayan altitude. Both are manageable with a few consistent habits rather than expensive gear.
For monsoon treks, a dedicated rain cover for your camera (or improvised with a dry bag and a rubber band) is non-negotiable, along with silica gel packets in your camera bag to fight condensation. Avoid changing lenses in the open during rain or high humidity, since moisture entering the camera body is far more damaging than moisture on the exterior. For cold-weather Himalayan treks, batteries drain faster and can behave erratically in sub-zero temperatures — keep spares in an inner jacket pocket close to body warmth, and let your camera slowly acclimatise to indoor warmth after a cold day rather than exposing it to a sudden temperature jump, which causes internal condensation.
- Monsoon: rain cover/dry bag + silica gel packets; avoid lens changes in wet conditions
- Cold: keep spare batteries in an inner pocket, close to body heat
- Cold: let gear acclimatise gradually to warm indoor air — sudden warming causes condensation
- Both: wipe down gear with a microfiber cloth at the end of each trekking day
- Both: a padded, water-resistant camera insert inside your backpack beats a separate camera bag
Composition Tips for Trail and Summit Shots
A few simple compositional habits consistently improve trek photos without needing technical camera knowledge. Including a person in the frame — even small, on a distant ridgeline — gives scale to mountains that otherwise photograph as flat, undifferentiated grandeur; a snow peak alone can look like any other, but the same peak with a trekker's silhouette against it immediately communicates scale and drama.
Leading lines — a winding trail, a ridge, a river — draw the eye through a frame and work especially well on switchback trails or valley treks like Har Ki Dun. And resist the urge to only shoot wide landscapes: close, detailed shots of frost on grass, prayer flags, or worn trail markers often end up being the photos people remember a trek by, more than the wide panorama everyone already has a version of.
- Include a person for scale on wide mountain shots
- Use trails, ridges, and rivers as leading lines through the frame
- Mix wide landscapes with close, detail-focused shots (frost, prayer flags, textures)
- Shoot in both portrait and landscape orientation — some scenes suit one far better
Shooting in Different Terrain: Himalaya vs Sahyadri
Himalayan and Sahyadri trekking offer genuinely different photographic opportunities, and adjusting your approach to each makes a real difference. In the Himalayas, scale and distance dominate — wide shots of snow ridgelines, glacial valleys, and layered mountain ranges reward a wider lens and patience for clear-sky windows, since high-altitude weather can close in and open up within the same hour. Winter treks add a further variable: snow reflects and amplifies light, so shots taken in flat midday sun on snow tend to look overexposed and lack contrast, making golden hour even more important than usual.
Sahyadri and Western Ghats trekking, by contrast, rewards closer, more intimate photography — monsoon-season waterfalls, fog rolling through valleys, and ancient fort ruins with genuine texture and history in the stonework. Post-monsoon and winter (October-February) offer the clearest long-range visibility of the year here, while the monsoon itself (June-September) offers dramatic, moody light but demands far more gear protection.
Editing and Managing Photos on the Trail
Most multi-day treks don't offer reliable charging or connectivity, so a realistic editing workflow matters as much as the shooting itself. Shooting in RAW (if your camera supports it) gives far more flexibility for recovering shadow and highlight detail later, but RAW files are large — carry enough storage cards and consider backing up to a phone or portable drive if you're shooting seriously over several days.
A simple, practical habit: do a quick culling pass each evening at camp, deleting clearly unusable shots (blurry, badly exposed, duplicate framings) rather than letting hundreds of redundant photos pile up. This keeps storage manageable and makes the eventual editing process, once you're back with a proper laptop and internet connection, far less overwhelming than sorting through thousands of unreviewed files.
Drone Photography: What to Know Before You Fly
Drones capture trekking landscapes in ways ground-level photography simply can't, but India regulates their use more tightly than many trekkers expect. Flying a drone near international borders, military areas, and many wildlife sanctuaries and national parks is restricted or outright prohibited, which rules out drone use on several popular routes without prior clearance — check the specific trek's regulations well before you pack one.
Where drones are permitted, register on the Digital Sky platform as required under Indian drone rules, respect no-fly zones, and be considerate of other trekkers and wildlife — the noise and visual disruption of a drone in a quiet mountain setting is a real consideration, not just a legal one. If in doubt, ask your trek organiser directly rather than assuming a drone is welcome.
Photographing People and Local Communities Respectfully
Some of the most memorable trekking photographs aren't landscapes at all — they're portraits of villagers, fellow trekkers, or the trek staff who make the journey possible. These shots also carry more responsibility than a landscape does. Always ask before photographing someone directly, especially in smaller mountain villages where a camera pointed at someone without warning can feel intrusive rather than flattering, regardless of your intent.
A short conversation, even a simple gesture asking permission, usually gets a warm response and often results in a far better, more natural photograph than a candid shot taken without consent. If someone declines, respect that immediately and move on — and if you promised to share a photo with someone in a village with limited connectivity, make a genuine effort to follow through, whether that means printing a copy through your trek organiser or sending it once you're back in range.
Treks That Reward Photographers Especially Well
Some treks are simply more photogenic than others, whether because of a single standout feature or because of variety along the route. Kedarkantha and Brahmatal, with their winter snow and 360-degree summit views, are reliable choices for dramatic wide landscapes, while Valley of Flowers offers the opposite — dense, close-up botanical detail across a short, accessible window in July-August when the meadow is in full bloom.
Har Ki Dun combines both scales in one trek, pairing wide valley and peak views with close, human-scale shots of Osla village's wood-carved temples and daily life, which is why it tends to produce the most varied photo sets among beginner-to-moderate Himalayan treks. In the Sahyadris, Harishchandragad's Konkan Kada cliff edge and Kalsubai's summit sunrise are both classic, reliably rewarding shots that don't require advanced technique to capture well — sometimes the composition is largely done for you by the location itself.
Practical Camera Settings for Common Trek Scenarios
You don't need to master full manual mode to improve your trekking photos, but knowing which settings to reach for in a few common scenarios helps.
- Wide mountain landscapes: smaller aperture (higher f-number, f/8-f/11) for front-to-back sharpness across the scene
- Snow scenes: slightly overexpose (+0.7 to +1 EV) — cameras tend to underexpose bright snow, making it look grey instead of white
- Low light/blue hour: use a tripod and a slower shutter speed rather than pushing ISO too high, which introduces grain
- Moving water (waterfalls, streams): a slower shutter speed (1/15s or slower, tripod required) for the smooth, silky-water look
- Portraits on the trail: a wider aperture (lower f-number, f/2.8-f/4 if available) to soften the background behind the subject
Building a Trekking Photography Kit on a Budget
You don't need premium gear to take good trekking photos — a sensible, budget-conscious kit covers most needs.
- Entry point: Your existing smartphone — covers 90% of trekking photography needs with zero added weight
- Next step up: A used or entry-level mirrorless camera with a single kit zoom lens (18-55mm equivalent range)
- Worthwhile accessory: A flexible mini-tripod (under 200g) — enables sharp low-light and group shots
- Worthwhile accessory: A dry bag or basic rain cover — protects your existing gear rather than requiring new gear
- Skip for most trekkers: Multiple prime lenses, a dedicated drone, or professional lighting — genuinely unnecessary weight for trail photography
Frequently Asked Questions
Capture Your Next Trek
Find upcoming treks across India's mountains and heritage trails, and connect with fellow trekkers on TrekVerse.
Explore TreksMore Trekking Tips
Continue preparing for your next trek: